First hour

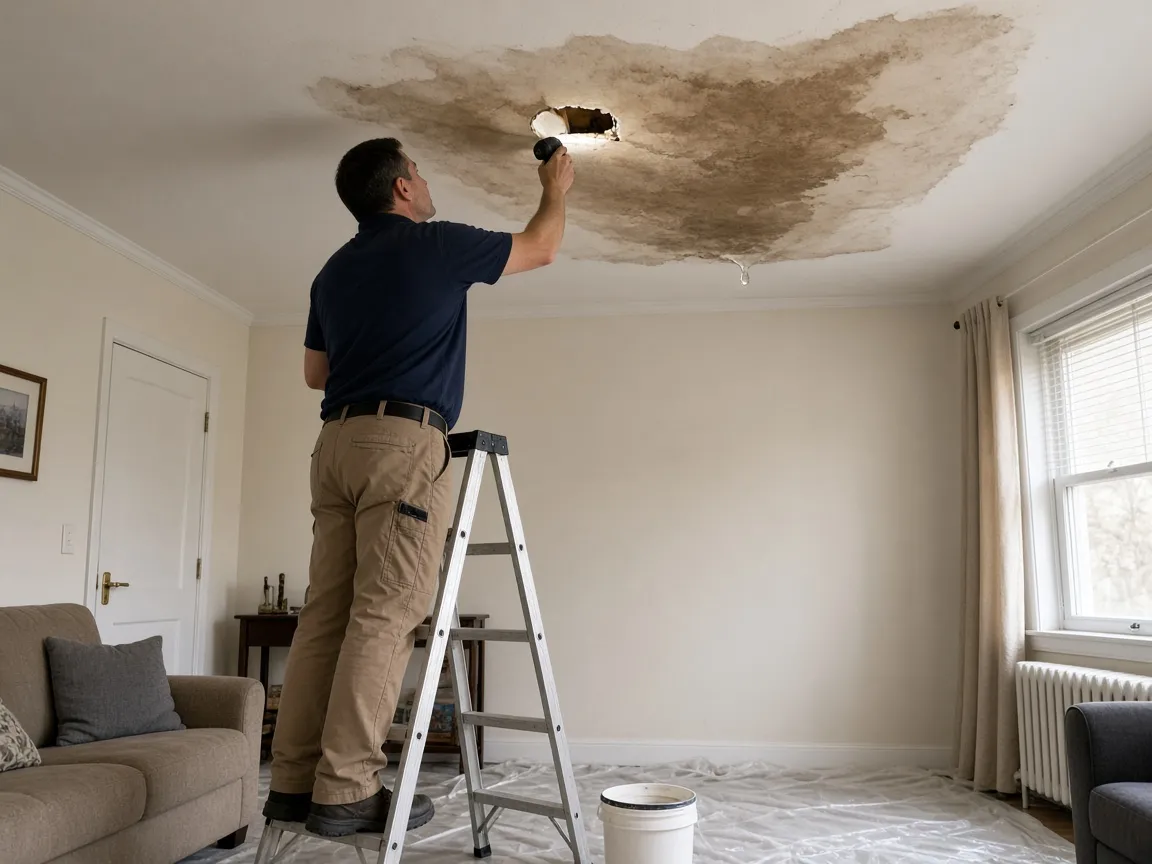
Ceiling leak

01

Catch and contain. Move what you can from under the drip.

02

Do not puncture a bulge unless you know it is safe.

03

Tell the unit above and the board. Photograph first.

Shutoff finder

Where is the valve?

Detached house

Likely locations

  1. Front wall, often in a closet or behind an access panel near where the municipal line enters.
  2. Mechanical room, laundry, or crawl-space entry on older stock.
  3. Meter box at the street — last resort, and not always yours to operate.

Ball valves close with a quarter turn, handle across the pipe. Gate valves close clockwise several turns. If it will not move, stop. Forcing a seized gate can snap it.

You can usually operate a domestic main in a house you own. If you rent, tell the owner and still shut it if water is moving and you can do so safely.

Townhouse

Likely locations

  1. Unit mechanical closet, often at the front or in the garage.
  2. Shared chase — do not assume the valve in your laundry is the building main.
  3. End-unit meter or a locked common room.

Same ball vs gate rule. Labelled 'domestic water' is the one you want. A heating loop valve is not it.

Many townhouse strata have a shared main. If your valve does not stop the leak, call the building and us. Do not open someone else's closet.

Low-rise condo

Likely locations

  1. In-suite shutoff under a sink or behind the washing machine — this stops your fixture, not the stack.
  2. Parkade or ground-floor service room — usually keyed.
  3. Riser closet in the corridor — not yours to force.

If the leak is a stack or a neighbour's line, your in-suite valve will not finish it.

Call the building. Then call us. For most condo residents, not touching the riser is the correct answer.

High-rise condo

Likely locations

  1. In-suite fixture valves only.
  2. Floor shutoff in a locked service room.
  3. Building main — operations or overnight security.

Do not enter a riser closet. Do not operate a floor valve you were not shown.

Call the concierge or after-hours number, then Calder. We will work with whoever has keys.

Where the water went

Four source paths

Upstairs bathroom

  1. Source at the fixture or supply
  2. Down through the ceiling cavity
  3. Along joists
  4. Wall base two rooms away
  5. Subfloor under flooring that still looks fine

What looks fine but isn’t: Ceiling two rooms over · Wall base below the source · Subfloor under intact flooring

Kitchen

  1. Dishwasher, fridge line, or sink supply
  2. Into the kick space and cabinet floor
  3. Through the subfloor
  4. Into the ceiling of the room below if stacked

What looks fine but isn’t: Cabinet backs that look dry · Adjacent pantry toe-kick · Ceiling below

Roof

  1. Penetration or valley
  2. Attic insulation
  3. Ceiling drywall
  4. Exterior wall cavity on the downhill side

What looks fine but isn’t: Insulation that holds water out of sight · Top plates · Windows below the leak

Basement floor

  1. Slab or crawl
  2. Up the bottom plate
  3. Into the first wall cavity
  4. Under finished flooring at the edge

What looks fine but isn’t: Bottom plates · Carpet tack strip · The 'dry' corner on the other side of the room

How long has it been wet?

The damage clock

These bands are what water does to a building as the hours pass, shaped by IICRC S500 guidance and the jobs we run. Not a countdown — the hour a given material turns depends on how much water there was, how warm the room is, and what the water was carrying. Use it to work out which job you have, then call whichever band you are in.

0–6 hours

Hour 6

Water is still spreading through subfloor and wall cavities.

Still salvageable: Hardwood · Drywall · Insulation · Cabinetry · Carpet + underlay

Water category: 1 — clean

Most of this is still recoverable. That changes tomorrow.

6–24 hours

Hour 24

Absorption into subfloor and cavities. Carpet underlay at risk.

Still salvageable: Hardwood · Drywall · Insulation · Cabinetry

At risk: Carpet + underlay

Water category: 1 — degrading

The underlay is the first material we usually lose. Call while the rest is still a drying job.

24–48 hours

Hour 48

Mould growth begins in this window. Drywall and insulation at risk. Category 1 becomes Category 2.

Still salvageable: Hardwood · Cabinetry

At risk: Drywall · Insulation · Carpet + underlay

Water category: 2

This is now a remediation job, not a drying job. Call.

48–72 hours

Hour 72

Insulation typically lost. Hardwood cupping. Cabinetry swelling.

At risk: Hardwood · Cabinetry · Drywall

Typically lost: Insulation · Carpet + underlay

Water category: 2

We can still dry the structure. Some finishes will not return to what they were.

72 hours and after

Hour 72+

Structural drying takes materially longer. Mould remediation likely required. Category 3 possible.

At risk: Hardwood · Cabinetry

Typically lost: Insulation · Carpet + underlay · Drywall

Water category: 2–3 possible

Call anyway. The log still has to close. Waiting does not make the invoice smaller.

Do not

  • Do not empty a bulging ceiling into a room full of people.
  • Do not ignore the unit two rooms over — water travels.
  • Do not paint over a wet stain.
  • Do not wait for the board meeting if water is still coming.

On arrival

We find the source path, extract the cavity, and dry before mould takes the 24–48 hour window.

Technician on a stepladder shining a torch into an inspection hole cut in a water-stained ceiling to trace the leak.
FIG. FH — FINDING THE SOURCE

Is this a claim?

Stack leaks in strata are a who-pays question. See buildings. This page is not legal advice.

Service page →·Emergency →

Still wet? Call.

We answer 24/7 — a person, not a service. If you would rather not talk, tell us what happened in four taps and we will call you.